Final Assembly

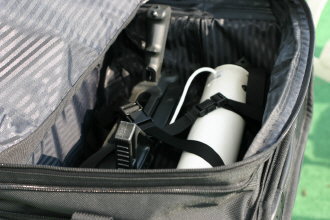
Figure 15: Small enough to fit into a bag
(Click image to enlarge)
The BlueSniper rifle was meant to break down into four main parts: the stock, the antenna, the magazine holder with computer and the antenna coupler. All of this can be fit into an average-sized duffle bag. The original BlueSniper rifle was carried around in a BushMaster rifle case, which attracted a lot of attention at Defcon 12. With duffle bag in hand, John and I took the elevator to the roof of Flexilis' 14 story building in downtown Los Angeles.
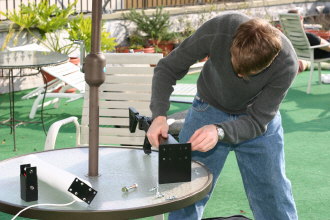
It takes less than five minutes to put the rifle together and John says that it can be done in three minutes with practice. No tools are needed, as you can hand-tighten all the bolts. After everything is unpacked, the antenna coupler is attached to the stock (Figure 16).

Figure 16: Attaching the antenna coupler to stock
(Click image to enlarge)
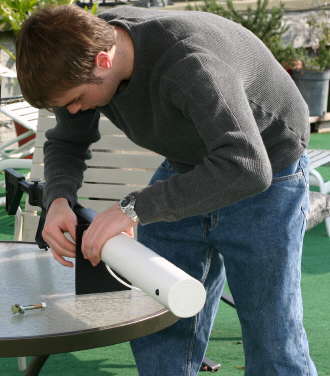
With the coupler in place, attach the antenna and its mounting plate to the coupler using four bolts (Figure 17).

Figure 17: Attaching antenna to coupler
(Click image to enlarge)
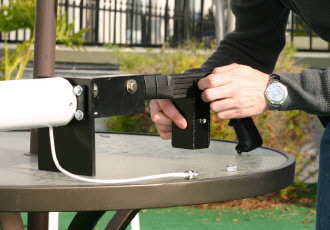
Attaching the magazine holder to the stock and connecting the antenna to the computer is the last step (Figure 18). You can save a lot of time by transporting the computer, on/off switch and batteries already inside of the magazine holder. That way you don't have to spend time cramming those small parts into the holder.
