Network Recon with Kismet - more
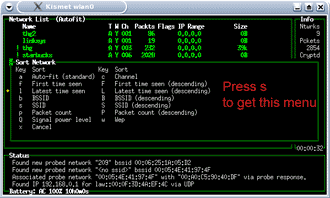
Kismet starts in "autofit" mode, which doesn't list APs in any meaningful order. Press "s" to get to the Sort menu (Figure 17). Here you can specify sort orders, which will organize the APs better.

Figure 17: Sort options in Kismet
(click image to enlarge)
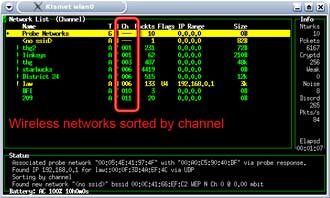
Press "c" and the access points will be ordered by channel. (Figure 18)

Figure 18: Sorting WAPs by channel
(click image to enlarge)
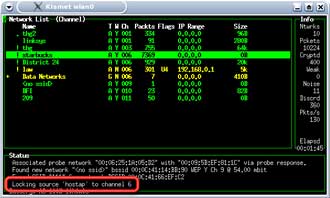
Kismet will by default hop through channels 1 to 11. Use the cursor keys to move the highlight bar to your SSID and press "L" (note capital "L") and Kismet will lock on the SSID's channel (Figure 19). You will notice that the packet numbers of other APs may still continue to increase. This is because many channels overlap each other in frequency.

Figure 19: Locking the channel scanning in Kismet
(click image to enlarge)
Now that we are reasonably sure that Kismet is working, let's see what happens when the target computer on the network starts transmitting information. In most cases, this will be receiving / sending of email or web surfing. Start the target computer, while keeping the scanning laptop in Kismet.
As the target computer boots into Windows and connects to the target AP, you will notice a surge in regular and encrypted packets being captured by Kismet. You'll be using these packets in the attacks described in Part 2 of this series.